
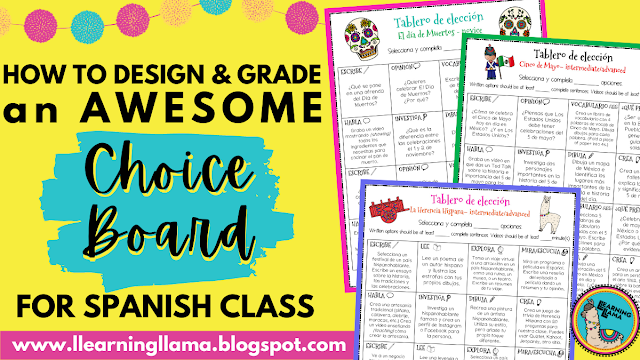
Are you ready to use an awesome choice board in your Spanish class that will keep your students engaged, be easy for you to grade, and help you with differentiation? If you haven’t been using choice boards yet, now is the time to start! They are easy to make and can meet the needs of so many students! Read through this post to learn how to create your own choice board, how to grade a choice board, see choice board examples, and even snag a choice board freebie!
What are choice boards?
A choice board is an easy-to-use classroom project that gives students choice in the final product they complete. Long gone are the days of assigning one project to the entire class. A choice board gives students multiple options and tasks to choose from based on their own preference. Each task should be unique, giving students with different skills, talents, and learning styles a chance to succeed. Plus, they can keep students busy for days with authentic tasks and language usage!
Choice Boards are Differentiation
Creating Your Own Choice Board
Ideas for Choice Board Tasks in World Language

Reading:
- Read a poem and interpret each stanza in your own words
- Read song lyrics and draw an image to represent each stanza
- Read a news article and summarize it in your own words
Writing:
- Write a letter to a penpal
- Create a brochure, presentation, or poster
- Write a poem (haiku, acrostic, etc.)
Speaking:
- Record a video in an authentic situation (news reporter, travel guide, etc.)
- Give a persuasive speech
- Record a cooking show style video, explaining how to make a traditional dish
Listening:
- Listen to a podcast episode and summarize it
- Watch a Youtube video that aligns with the content and answer questions
- Interview a partner and take notes on their responses
Culture:
- Compare and contrast two holidays
- Identify the 3 Ps (products, practices, and perspectives) of a cultural element
- Make a traditional craft, food, game, etc.
Designing the Choice Board Layout
How to Assign and Use Choice Boards – 7 Ideas!
- If you design your choice board so that each row has the same style of task (reading, writing, etc.), then you can require your students to choose one activity from each row. That way, they cover all of the types of tasks!
- Require students to complete a specific number of activities. As they complete the activities, they can show you, and you can sign off on the boxes they do. Then, they must turn in the work and the choice board to demonstrate that they completed the required number of activities.
- Students can work in pairs and must complete a specific number of activities. As with all differentiation, some students work better in pairs rather than independently. If you want to allow students to work in small groups, then they can be required to complete the entire board! If this is the case, then have a system in place to check off their work as they go. Whether it is a stamp, sticker, or your initials, you need to mark off each task on the board.
- We all have students that finish their regular assignments much quicker than everybody else. You can turn the choice board into an “early-finisher” activity. Create a bulletin board with the choice board as the theme. You type up the options in a large font and print out. Display on your board and attach a folder with the handout on the bottom of the board. Attach a second folder for students to submit their work. By the end of the marking period, you could require each student to submit at least 1 or 2 projects, and you can grade them as they are submitted.
- Use choice boards as a Bell Ringer activity, especially if you create or use choice boards that have easy, quick activities. Choice boards with projects and creative tasks won’t work as well for bell ringers. Create a choice board based on the current grammar, upcoming holiday season, or story you are reading. Instead of titling each task with a different skill (reading, writing, etc.). Title them with the date! Then students will complete one per day. Make your questions short and sweet – like make a list of 5 vocab words related to Christmas. Write 3 sentences using the preterit tense. Write a caption for the picture on the screen. Plus, once your students do two or three days, they will know the drill, so if you get observed, administrators will love this creative bell ringer idea, keeping students engaged from the moment they walk into your room.
- Assign a numeric value to each activity. Easier assignments will be 1 point, more difficult or time consuming activity could be 3 points. Then, based on the skill level of your class, require students to complete a specific amount of points, such as 9. They can determine the activities that add up to the 9 total points.
- Sub Plans! I used choice boards as one of my common sub plans when I had to take a sick day. It is low-prep, especially if you have one from the previous year. And if you plan on being out for multiple days, or you have to suddenly extend your absence, just require your students to complete more tasks the following day!
Grading Choice Boards
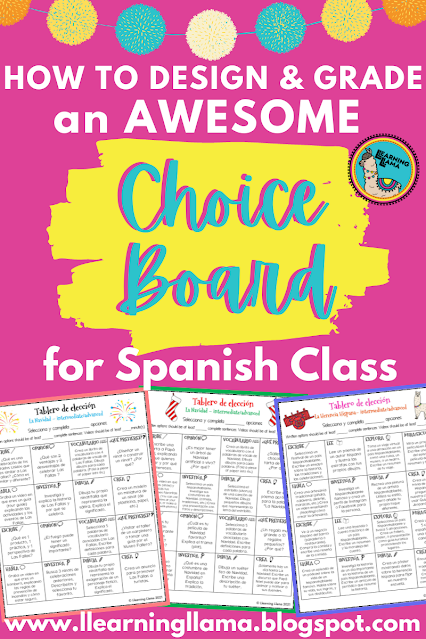
Choice Board Examples
- Frida Kahlo Self Portrait Choice Board
- FREE Learn Spanish at Home Choice Board – great for extra credit, virtual learning, or homework
- Story Comprehension Choice Board (any World Language)
- La Navidad Choice Board
- Las Fallas Choice Board
- Día de San Valentín Choice Board
- Cinco de Mayo Choice Board
- Hispanic Heritage Choice Board – in English & Spanish
- Day of the Dead Choice Board
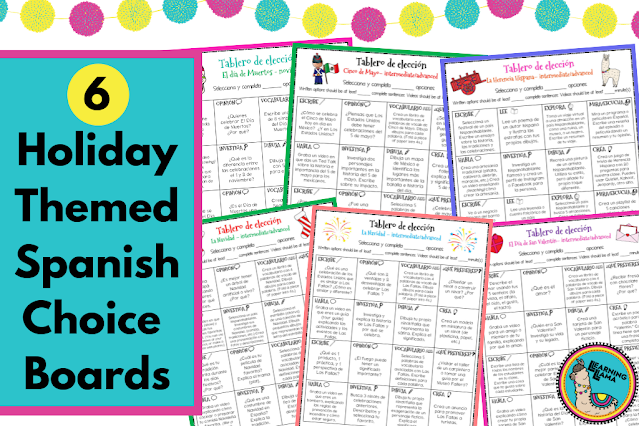
- Holiday Choice Board Bundle – Buy 6 get 1 FREE!


One Response