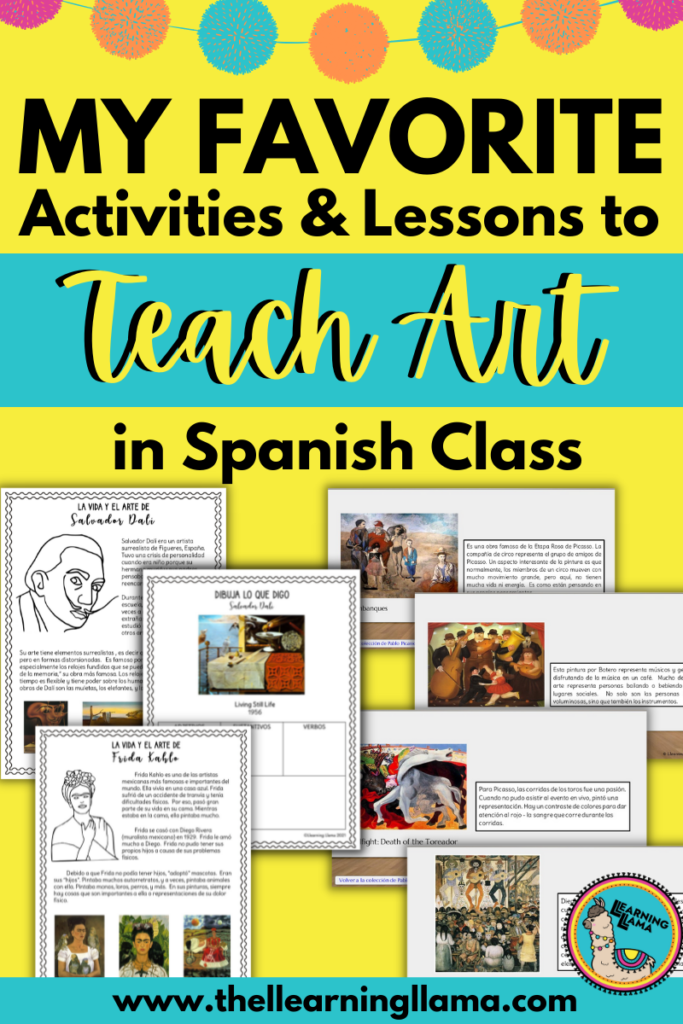
If I could design my perfect Spanish course to teach, it would be to teach art in Spanish. Ever since I first started teaching a Beauty and Aesthetics unit in a Spanish 3 course, I realized that when I teach art is when I am happiest and when I feel like I am the best teacher version of myself. Not only do I enjoy teaching art in Spanish, but I really felt that my students developed a deeper understanding of Hispanic culture and art. Their creativity flourished as they designed their own artworks.
When teaching this unit, we spent about two months learning about five different Hispanic artists, how to describe art, and even introduced the subjunctive tense in a comprehensible way. I have some suggestions for how to teach art in your world language classroom, an outline of what my lesson plans looked like, and materials that I used.
I recommend that you also join my Facebook Group: Art in Spanish Class for a group of like-minded Spanish teachers who love teaching about art, have an art unit and need inspiration, try to incorporate art into more lessons (who doesn’t love using a fun painting to talk about quinceañeras or the Spanish royal family?)
Introduce Art Vocabulary
What Vocabulary to Include
To start an art unit, make sure you introduce basic art vocabulary. Then, spend a lot of time practicing it. Once you dive into analyzing art, you want your students to be able to describe it and give their opinion in the target language. So you must first equip them with the vocabulary to do this. After a few years of teaching this, I modified my list to include words that discuss styles of art (cubism, realism, surrealism, etc.) and colors (light, dark, bright, etc.). I also include words to describe the various parts of a painting (foreground, background, landscape, etc.). Finally, you need to give your students new adjectives to describe artwork and themes (depressing, spooky, strange, whimsical, etc.).
Grab an Intro to Art with Spanish Art Vocabulary FREEBIE lesson here. You’ll get my complete list of art vocab plus some art analysis questions and a group activity.
In order to put this vocabulary into use, these are some activities that I recommend:
- Show famous paintings to your students. They don’t need to be from Hispanic artists just yet. But choose paintings and artworks that they will recognize. Think “Starry Night,” “Mona Lisa,” etc.
- Play Kahoot with paintings and vocabulary words and let students learn the words as they play.
Create an Art Gallery in Your Classroom
Make your own art gallery in the classroom with paintings from the famous artists you are studying. I printed out the paintings (it is best with a color printer) and hung them around the room. If you are not able to print them in color, you could get a bunch of laptops and put them around the room. On each screen, pull up a painting and have students walk around. An even easier way to do a digital gallery walk is to create a PowerPoint presentation or Jamboard and share it with your students. They can “walk through” the gallery at their own pace. Here is a digital version of a Hispanic Art Gallery, complete with 5 exhibits and descriptions of 23 paintings!
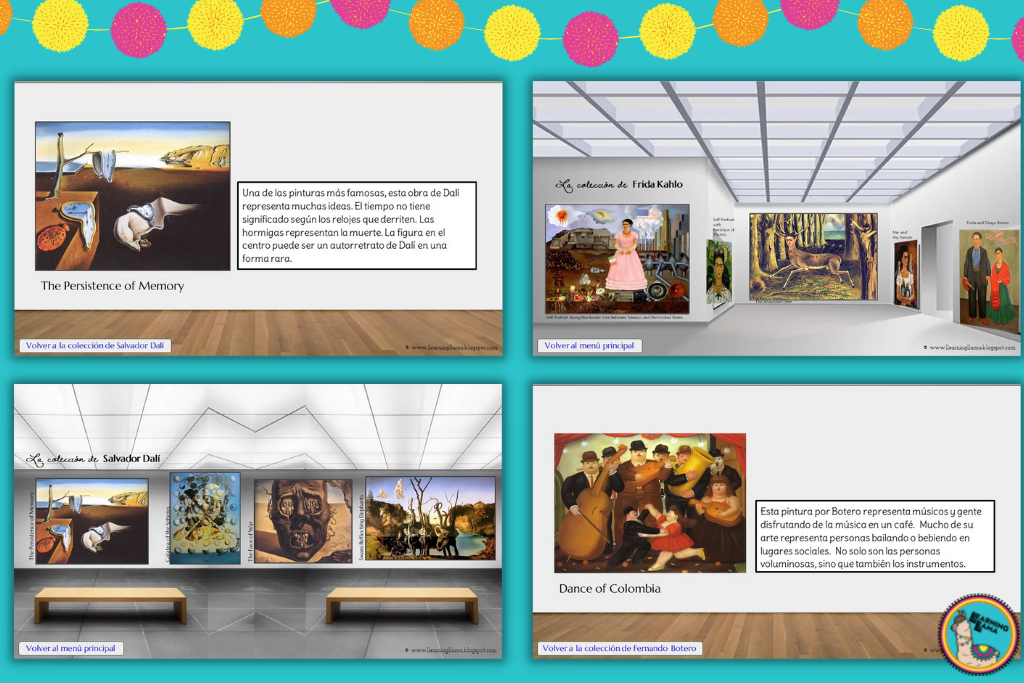
As your students walk through the gallery in your classroom or online, they should write comments and opinions about the artwork. Make sure that they have the art vocabulary list in hand as they do this, so they are using the new vocabulary to describe the color, theme, emotions, etc. You could also post a list of general questions for students to think about during the gallery walk. That way students are given more to focus on rather than relying on just what meets the eye.
Compare and Contrast Artwork
When you teach art, be sure to compare and contrast the artists, styles, and paintings. This is another great way to utilize the art vocabulary. Analyze the artists’ lifestyles and inspirations. Determine what symbolism is found within the paintings; what theme is being presented; what mood are they trying to convey. What is similar and different about each painting? Students could complete a classic Venn Diagram or a presentation on any two works you are studying.
How to Teach About Hispanic Artists
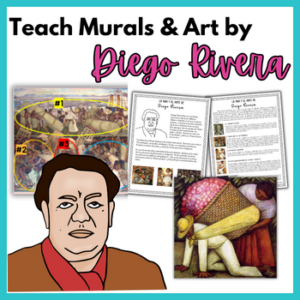
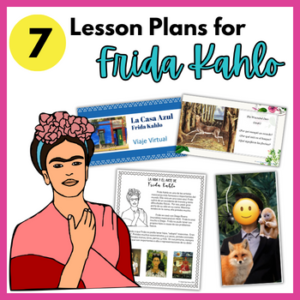
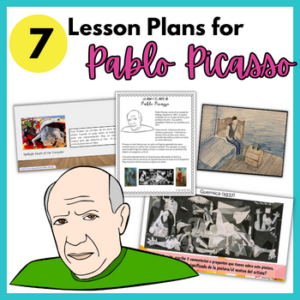
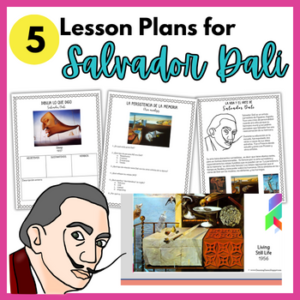
My two month unit focused on five Hispanic artists: Pablo Picasso, Diego Rivera, Frida Kahlo, Fernando Botero, and Salvador Dalí. Depending on the artist and amount of activities, we spent a few weeks on one artist, or just one day.
Start with Biographies
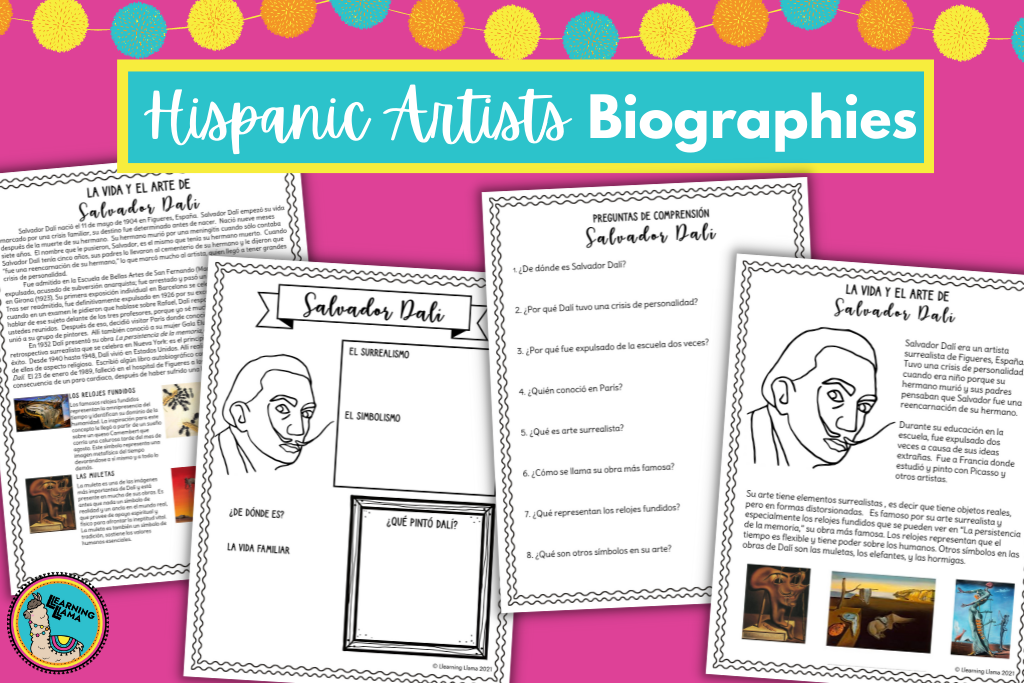
Each mini-lesson started with background information on the life of the artist. We read a biography and watched a video on each artist. Here are 3 differentiated versions of biographies (English and Spanish versions). My favorite videos come from El Asombroso Mundo de Zamba on YouTube. It is a cartoon where the main character, Zamba, travels back into time to visit Hispanic artists. He even jumps into their paintings with them!
Analyze Artworks
Once students understand the artist’s lifestyle and inspirations, we do a deep-dive into their most famous artworks. You can create another art gallery walk, do a scavenger hunt, or even answer detailed analysis questions. If you take a look at these four blog posts about Frida Kahlo, Pablo Picasso, Diego Rivera, and Salvador Dali, you’ll get more ideas for analysis activities!
Become Artists
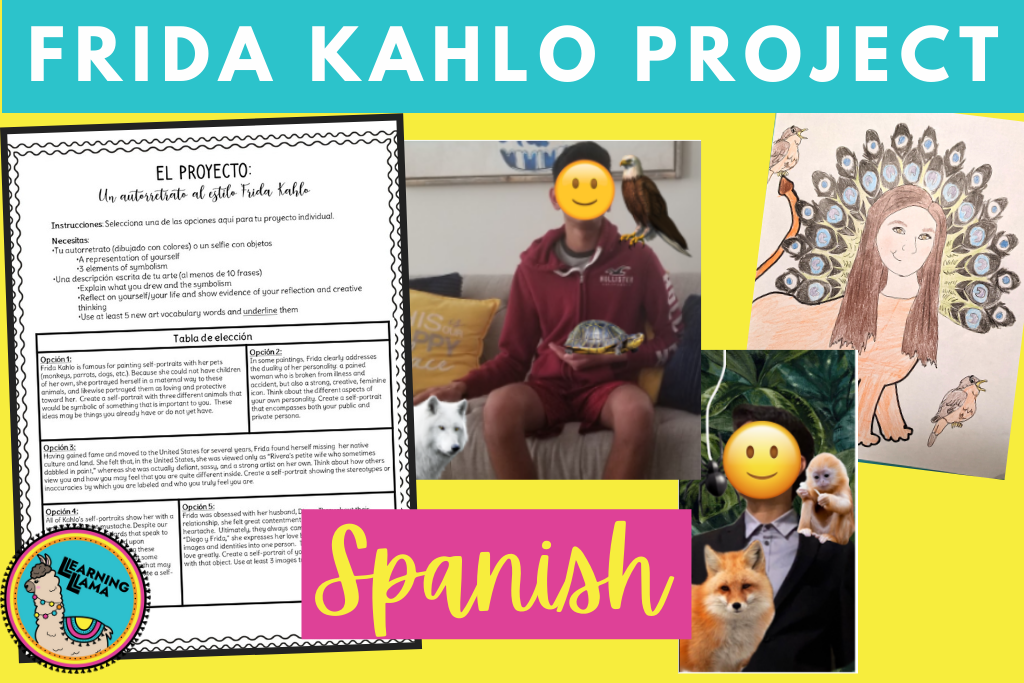
Allow the students to become artists. This is the best and most exciting part of teaching art! Have your students emulate an artist or artists! After studying an artist for a few days, now you should create a project where your students must become inspired by that artist. For example, create self-portraits like Frida or whole-class murals like Diego! Use cubism like Picasso to create new Guernicas or surrealism like Dali. By the end of this unit, our classroom and world language hallway was really like an art museum!
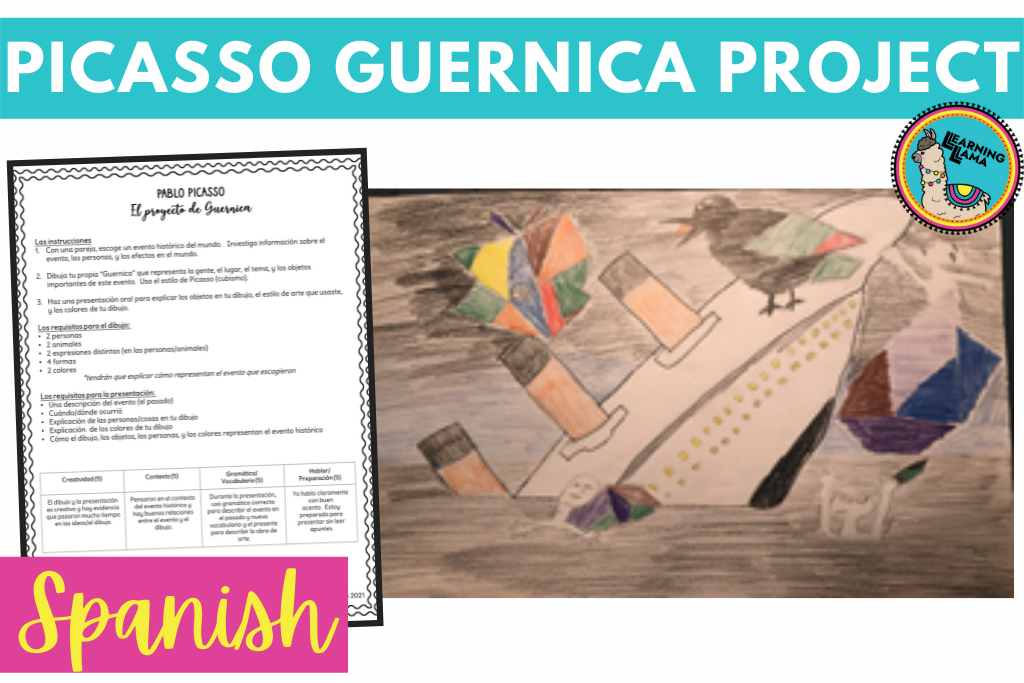
When I do these projects, I provide my students with a choice board of options. Give your students some guidelines, but really let them be creative. Some students really like to draw, while others prefer to design digitally. When we do self-portraits like Frida, here are some things I like to think about. Creating a self portrait about your personality may make some students uncomfortable, so I let students choose how to represent themselves. Some choose to emulate Frida’s self-portraits with animals, so they choose animals that reflect their personalities. Others embody Frida’s dual-personality paintings by drawing two versions of themselves, similar to Frida’s “loved and unloved versions” in Las Dos Fridas.
Escape Room
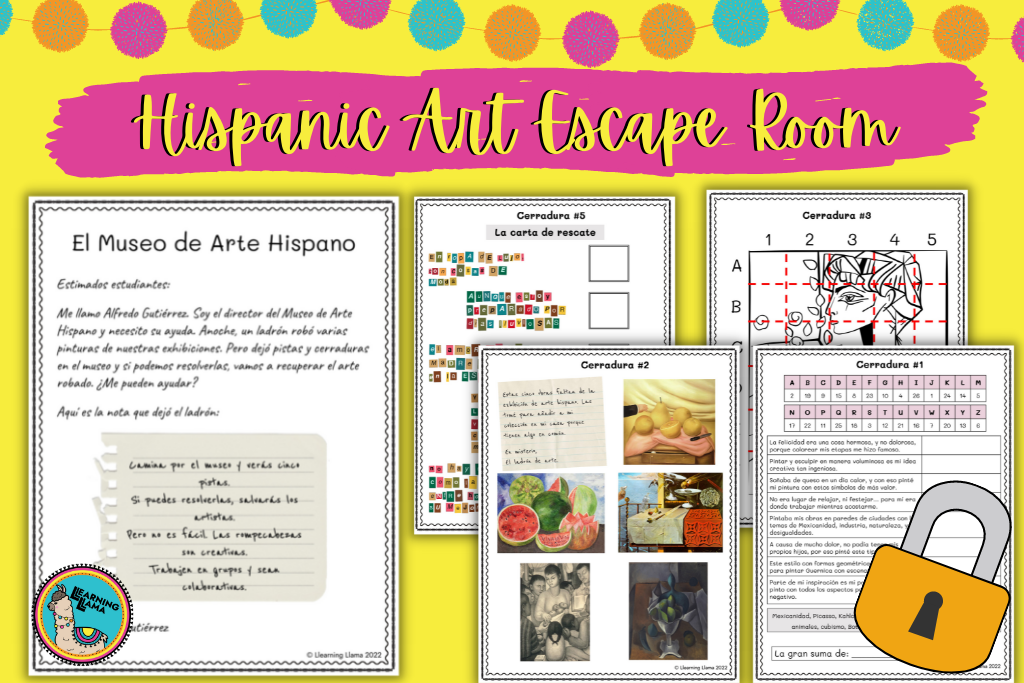
To conclude the entire unit, I used an Escape Room. An art thief robbed a bunch of paintings from a Hispanic art exhibit and we have to help find the paintings! I created fun puzzles where students analyze the artwork, solve cryptic messages from the thief, and even do a scavenger hunt! Check it out here (English and Spanish versions) or learn how to create your own escape room with this blog post.
Assessment Ideas
Now, assessing art can be a bit challenging because you have already looked at and identified so many pieces of artwork. What can you do to differentiate your typical lessons from a formal assessment? One of my favorite ways to assess students’ understanding of an artist’s style is by showing them paintings that we haven’t studied yet. They must identify which of the artists we learned about painted it and why. They should identify common elements that you discussed in class that make each artist unique. For example, a common symbol in Dali’s artwork are crutches, which symbolize support. If you show a new painting by Dali that they haven’t seen before, but it includes his surrealist style and crutches, then your students should be able to explain in Spanish who the artist is and what elements make this unique to Dali.
Check out My Art Lessons Here
You can purchase the individual artist units here.
- Frida Kahlo
- Diego Rivera
- Salvador Dali
- Fernando Botero
- Pablo Picasso
- Bundle pack of all five artists here for a discounted price!
There is also a set of biographies in English & Spanish for each of the five artists.
To check out ALL of my art lessons, including mini booklets, a virtual field trip to Frida’s house, and more, check out my store here.
Most importantly, have fun with this unit! When you teach art, it really lets your students show their creative side and even lets you into their personal lives and emotions as they express themselves in a unique way.
